Serving as guest CT for the
Feeling Scrappy Embellish It! class was such a fun experience. I have never been more creative with my work, and the opportunity to learn alongside such an amazing creative team and some very talented students was something I am so tickled to have been able to do. I've already determined that the next time a CT call is posted, I will definitely be throwing my hat into the ring!
As promised, here are the layouts I completed for the class, now that things haved wrapped up. The next class at Feeling scrappy begins next month, and will focus on ways to use up our paper stashes in fresh ways. As an unabashed paper addict, I am already looking very forward to it!
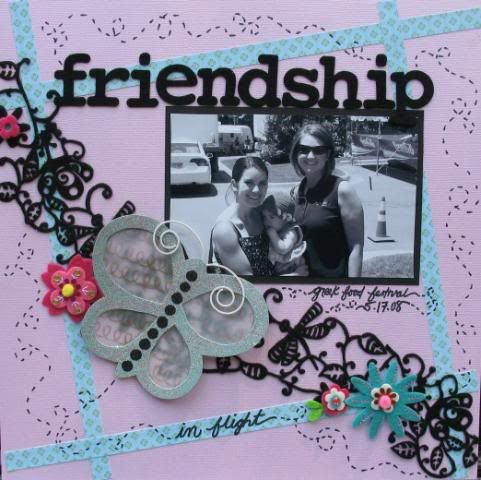
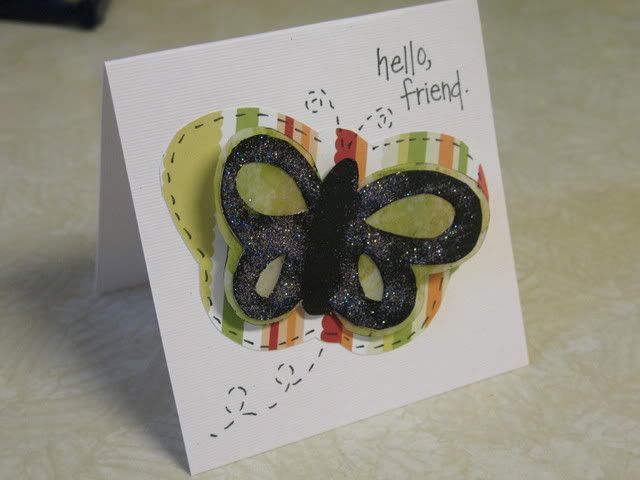
I made the butterfly embellishments for this page and card using chipboard backing from paper packaging, vellum (for the wings), and other basic supplies.
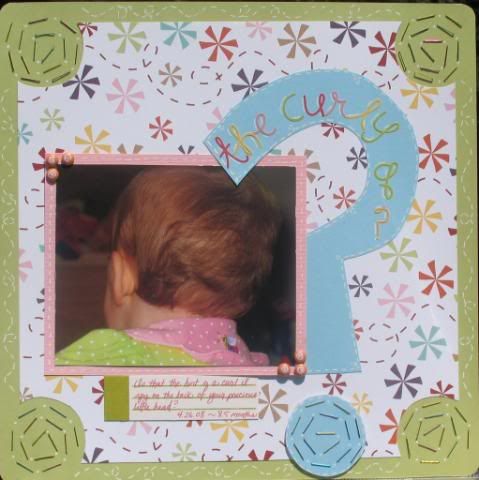
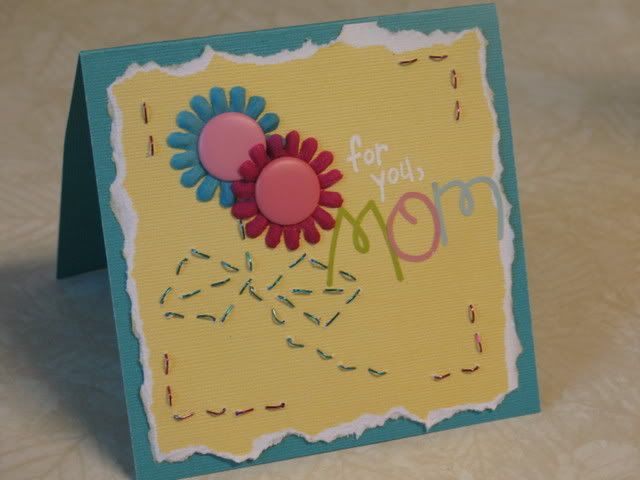
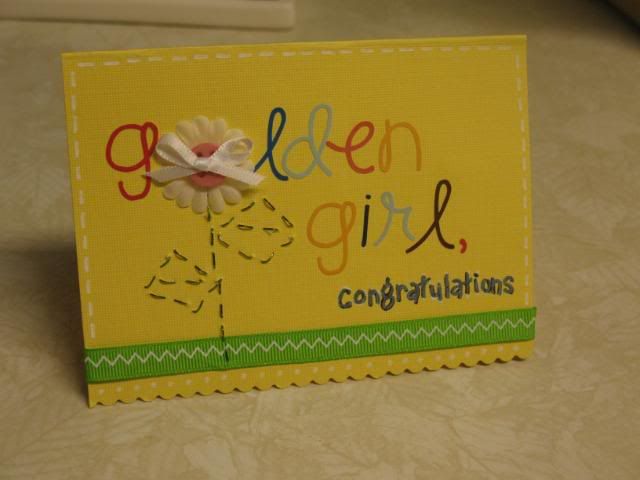
 Since the class was on using embellishments in creative ways, I put my staple stash to creative use in the following examples. In the card, I came up with the idea to use the reverse side of a staple to create mimic the look of stitching.
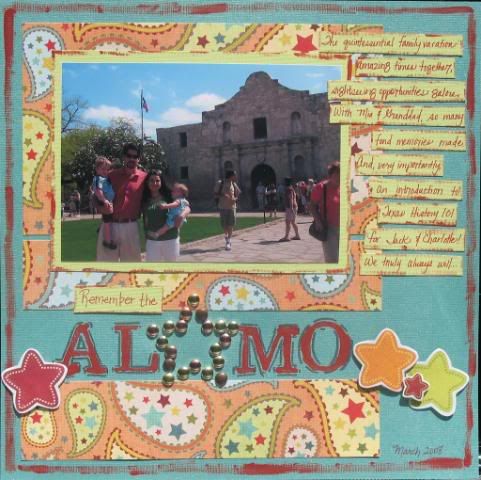
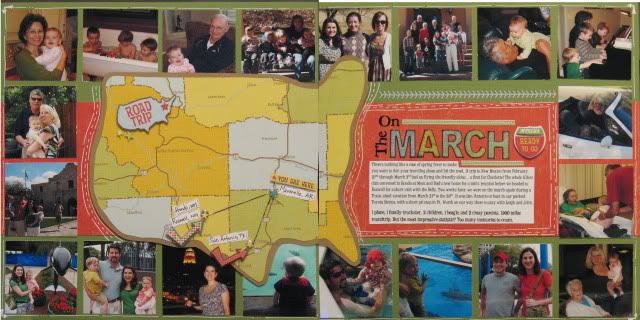
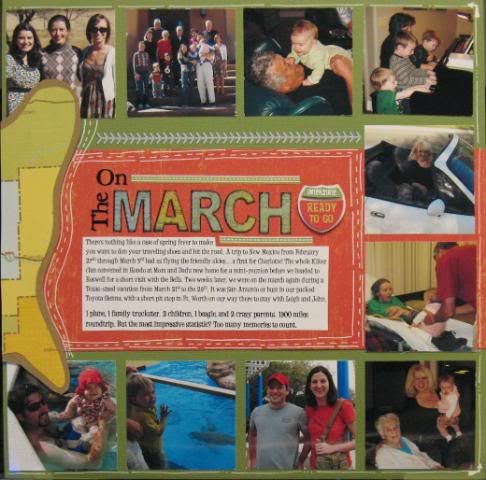
With all of the chipboard lettering I've been using lately, I found I had a lot of empty sheets lying around. What better way to make use of those than to let them serve as stencils for lettering? All it took was the empty sheets, some acrylic paint and an ever-versatile Q-tip to create the lettering for "Alamo."
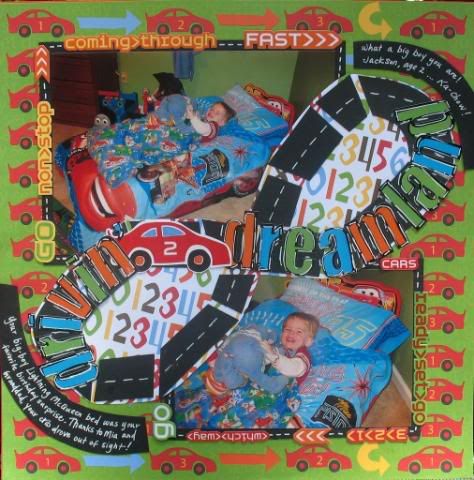
Kari had the idea to use eyelets and brads in a shape, and I made this page as an example to also go along with that technique.
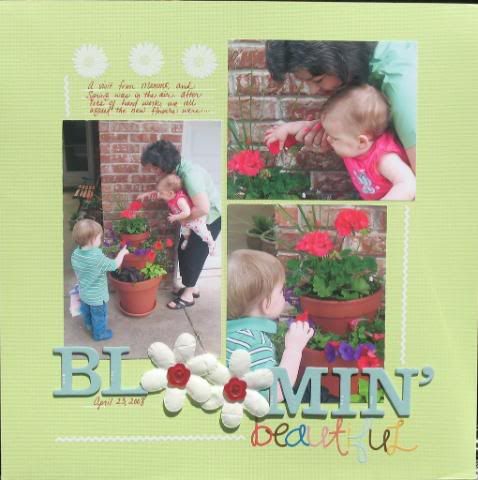
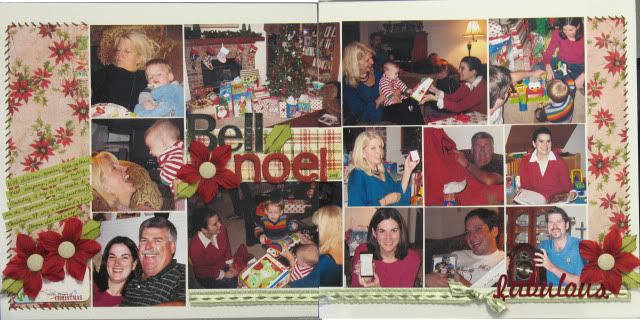
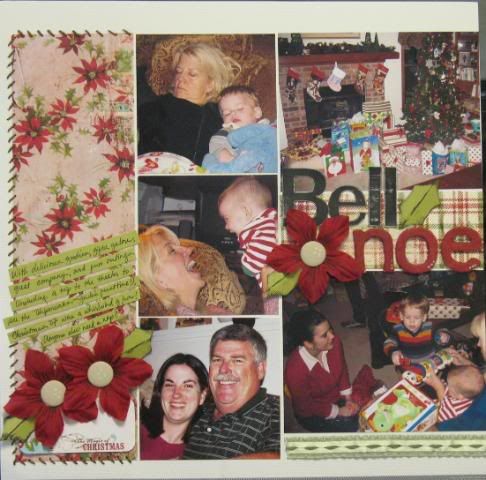
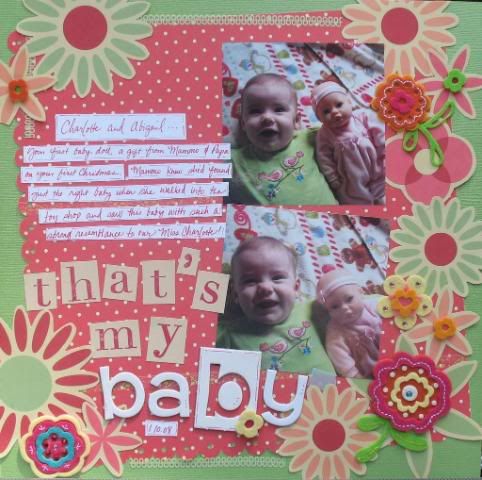
 Examples of using flowers to replace o's in a title.
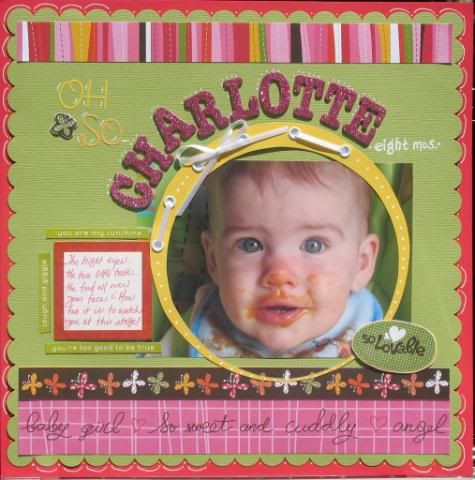
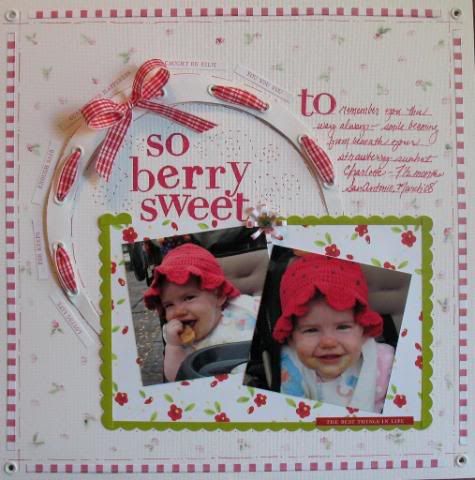
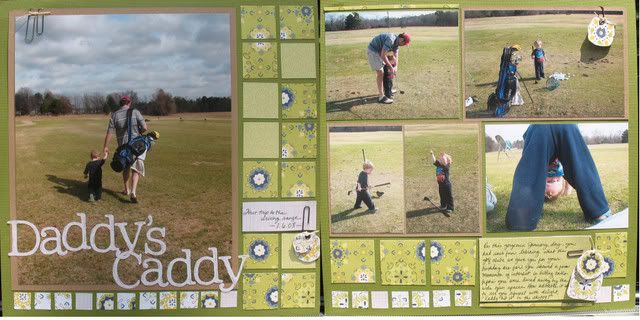
 Examples of creating laced eyelet frames for a page. (The second page was my submission for the guest CT call.)
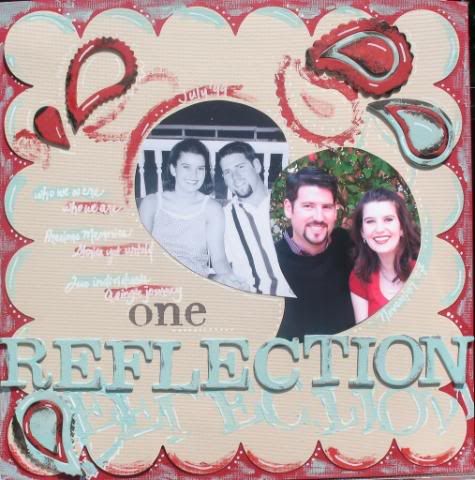
 Here, I used chipboard to create a stamped mirror image with acrylic paint.
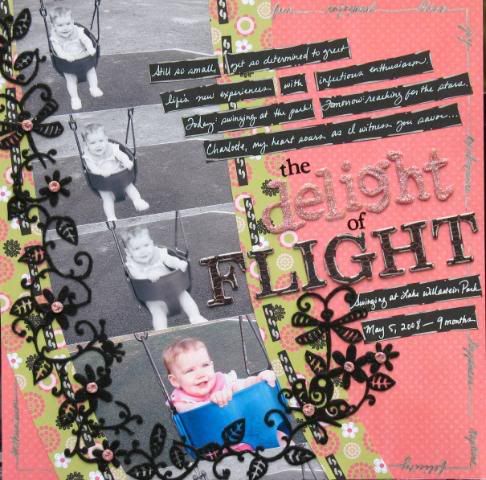
 This was an example for Jayne's technique of using puffy paint (yes, you read that right!) to make lettering/shapes. I used the technique for the word "delight" and the flower centers on the felt border.
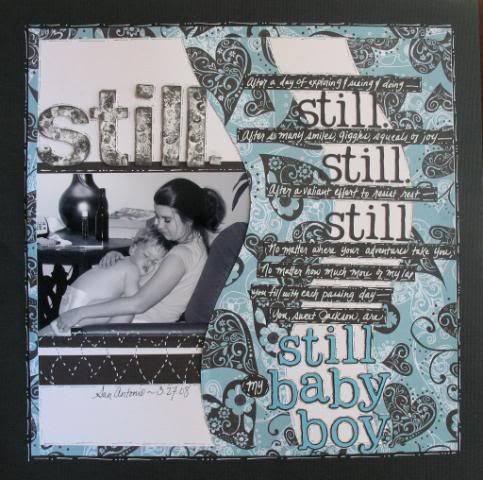

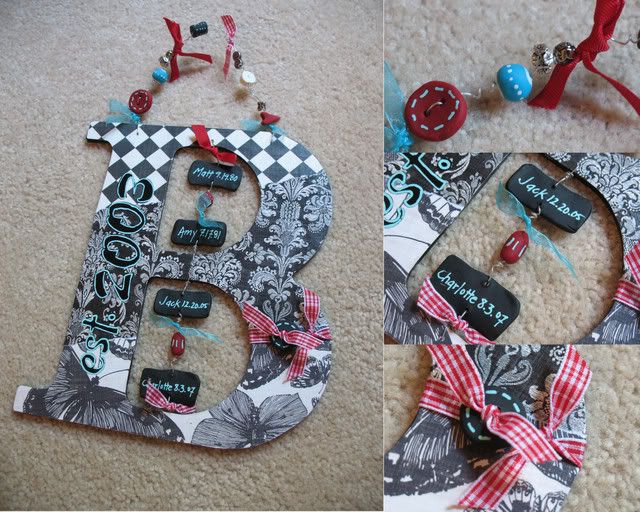
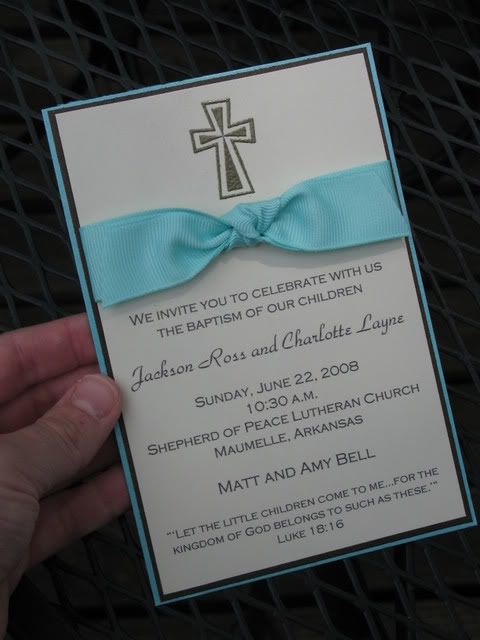

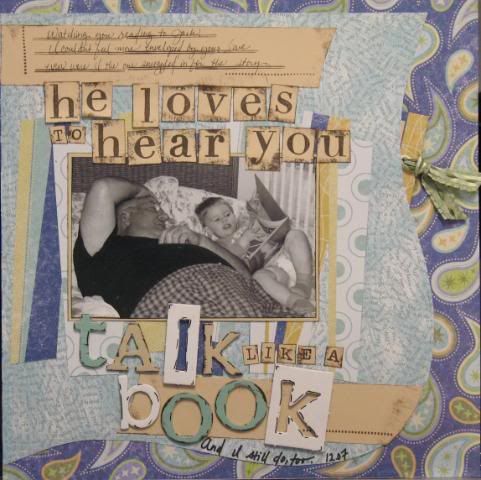
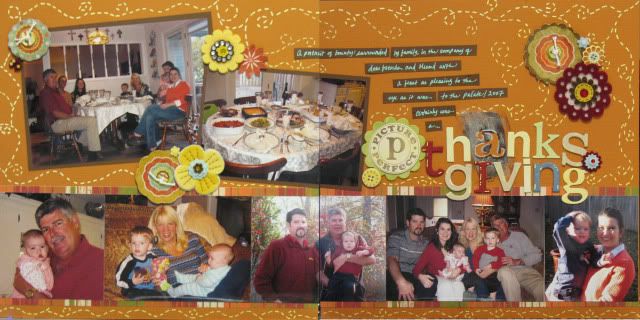
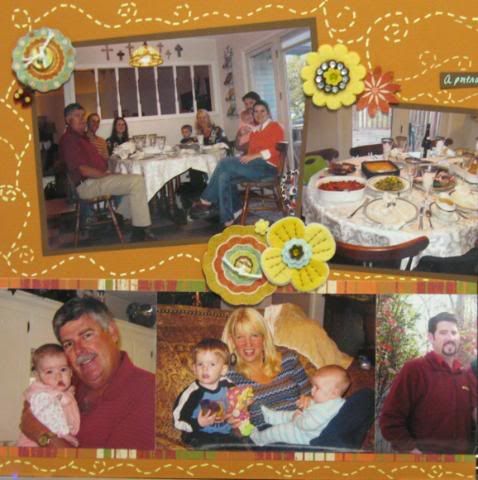
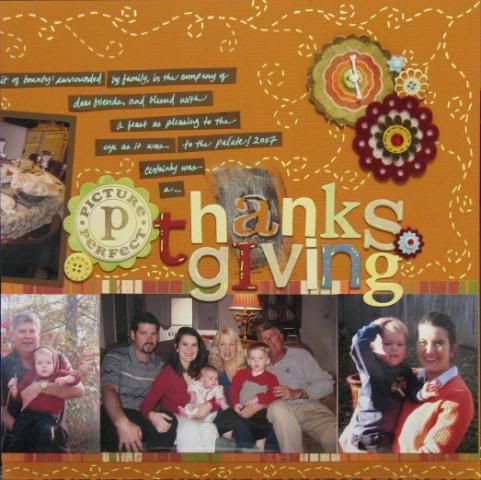
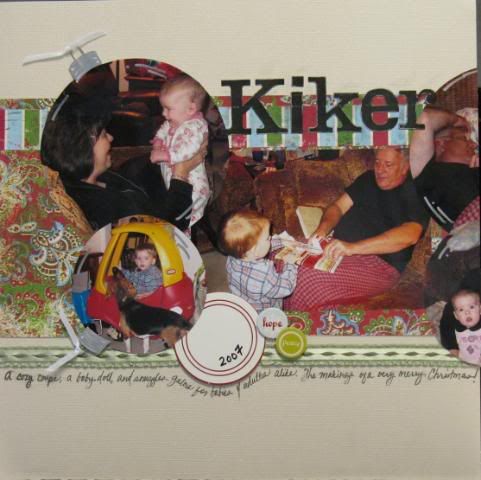
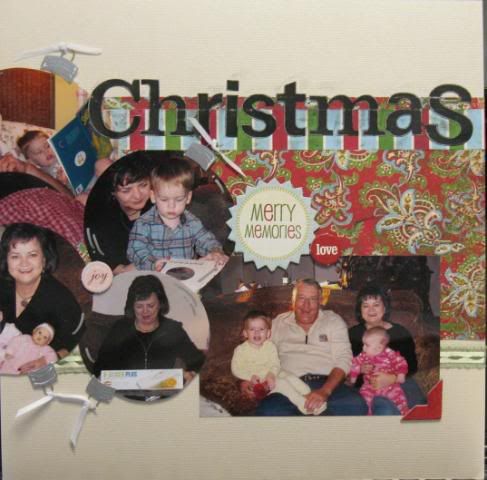
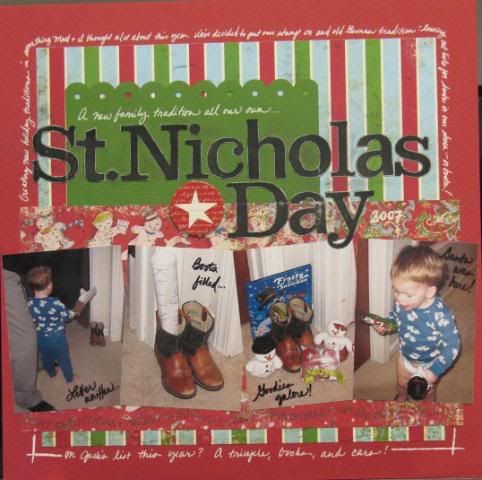
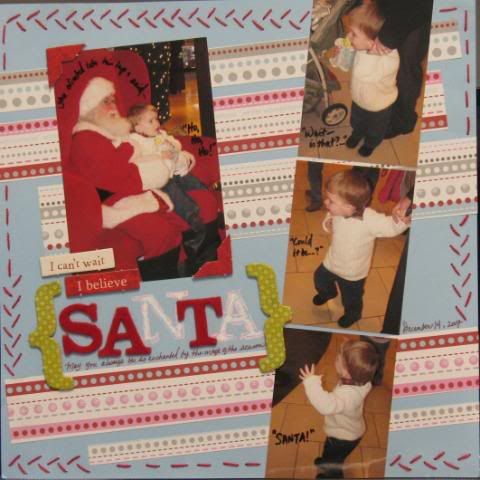
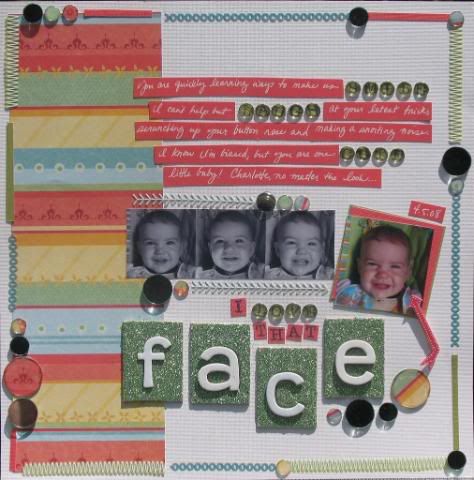

 Since the class was on using embellishments in creative ways, I put my staple stash to creative use in the following examples. In the card, I came up with the idea to use the reverse side of a staple to create mimic the look of stitching.
 With all of the chipboard lettering I've been using lately, I found I had a lot of empty sheets lying around. What better way to make use of those than to let them serve as stencils for lettering? All it took was the empty sheets, some acrylic paint and an ever-versatile Q-tip to create the lettering for "Alamo."

 Examples of creating laced eyelet frames for a page. (The second page was my submission for the guest CT call.)
 Here, I used chipboard to create a stamped mirror image with acrylic paint.
